Introduction
Screencastify is a screen recording software that’s perfect for students, teachers, and professionals who need to record their screen for tutorials, presentations, or any other reason. It’s easy to use and has a ton of features, making it one of the best screen recorders available. In this article, we’ll walk you through how to start recording on Screencastify so you can start creating your own screencasts.
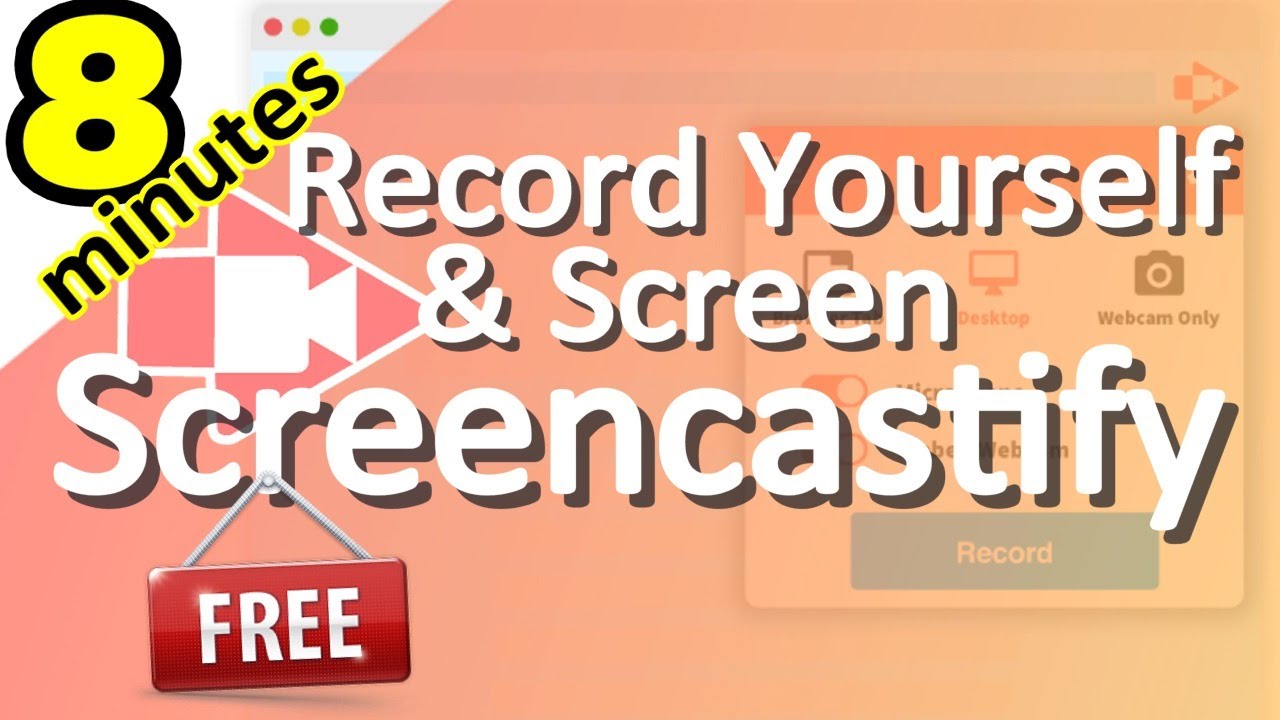
Image: www.youtube.com
Download and Install Screencastify
To get started, you’ll need to download and install the Screencastify extension for your browser. You can find the extension for Chrome, Firefox, and Edge on the Screencastify website. Once you’ve installed the extension, you’ll need to create a Screencastify account. You can do this by clicking on the Screencastify icon in your browser toolbar and then clicking on “Sign Up”.
Start Recording Your Screen
Once you’ve created an account, you’re ready to start recording your screen. To do this, click on the Screencastify icon in your browser toolbar and then click on “Start Recording”. You’ll then need to select the area of your screen that you want to record. You can choose to record your entire screen, a specific window, or even just a tab.
Choose Your Recording Settings
Before you start recording, you can choose your recording settings. These settings include:
- Resolution: The resolution of your recording.
- Frame rate: The number of frames per second that your recording will be recorded at.
- Audio source: The audio source that you want to use for your recording.
- Microphone: The microphone that you want to use for your recording.
- Screencast webcam: The webcam that you want to use for your recording.
- Animojis: The animoji that you want to use for your recording.

Image: mixerlimfa.weebly.com
Start and Stop Your Recording
Once you’ve chosen your recording settings, you can start recording your screen by clicking on the “Start Recording” button. To stop recording, simply click on the “Stop Recording” button.
Edit Your Recording
Once you’ve stopped recording, you can edit your recording. You can do this by clicking on the “Edit” button in the Screencastify editor. In the editor, you can trim your recording, add annotations, and even add music.
How To Start Recording On Screencastify
Publish Your Recording
Once you’re finished editing your recording, you can publish it. You can do this by clicking on the “Publish” button. Screencastify will then generate a link to your recording that you can share with others.
We hope this article has helped you learn how to start recording on Screencastify. If you have any questions, please feel free to leave a comment below.
